Wednesday, September 19, 2012

Pinterest Inspired Tea Party Theme Baby Shower -Decorating on a Dollar Store Budget

Jeremiah 1:5               

"Before I formed you in the womb I knew you, before you were born I set you apart; I appointed you as a prophet to the nations." (NIV)


From Thrift Stores to Dollar Stores

The Making of a Princess

 Tea Party Baby Shower


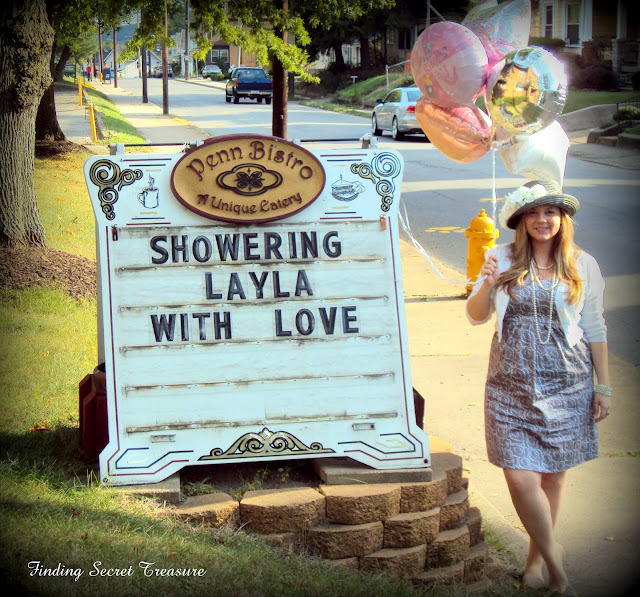
From the time my Daughter first told me she was expecting, I started Pinning, I think we both knew from the beginning it would be a little girl, another little Princess. Sami decided she wanted to have a Tea Party Theme, where all the guests wore pretty Tea Party Hats, so a Pinning I went... I have a Tea Party Board, a Cupcake Board, A Baby Board, a Hat Board, so if you need more ideas than you find in this post, check out my Pinterest boards.
 
 
My Daughter-in-Law took charge of all the details, and kept track of who was doing what, when things needed done, the hall and the food, etc.  Sami's Best Friend and her cousins all pitched in to make her shower as special as she is. With all this help I was free to concentrate on a "few" projects.


 One of Sami's all time favorite things to do is play dress-up, and take Pictures, so I knew I wanted to include a "Photo Booth" with lots of play things.
 
 
In the attic I found the old Train Case she used to keep her "things" in, all fixed up it was the perfect place for all the Photo Booth Props. I made a few Hat Stands from Thrift store Candlestick Holders, glued together and painted. The Feather Boas are from the Dollar Store and Ebay. 
 

I picked up a package of new Onsies from the thrift Store, the little Tutu's are From the Dollar Tree, and the Letters are Dollar Store Stickers, even the little clothes pins are from there.

Another Attic find, Sami's own little Tea Set...
Amy, my Daughter-in-law found the cutest little Tea Party Book, that all the guests signed


My Sister-in-Law collects Tea Pots, and was kind enough to lend us a few for Decor, filled with Tissue Paper Flowers, Cake Pops, Chocolate Dipped Marshmallows, Ribbon Curls...


The Ruffled Umbrella is from the Thrift Store as well as some of the Hats on Display, Pearls and Beads from GoodWill, Ebay, and some we had...


I made the Cupcake tags from Card stock with a few different size Stampin Up Punches, and printed the "cupcake name" Amy, the Girls and I all made several varieties of Cupcakes.


The Tea Cup Candelabra was made with my Mom's China Tea Cups, I have a lot of extra cups, and they never get used, this way they are. I just glued them on. We stuck a cupcake in each (I should have put something underneath them so they showed, but...)
 

I made a bunch of cake plates, I do a post on them latter


The next Pictures are from the Photo Booth, and speak for themselves... I'll catch up with you at the bottom.


Thank you for visiting with me today, hopefully you have been inspired in some small way...

Please leave a comment so I know you were here, they really do make my day!
As always if you like it, PIN IT
God's Blessing to you and your families, have a wonderful day
Sharing with:


button
Thursday Favorite Things Funky Junk's Saturday Nite Special

Monday, September 10, 2012

DIY-Chalkborad Wine Glasses and Distressed Holder

Matthew 25:35


DIY-Chalkboard Wine Glasses and Distressed Holder

Brought to you straight from Pinterest! Another direct Steal... So what else is new? and what can't you find on Pinterest?
 
 
A super easy, super cute Project, I've been planning on making these glasses since I first saw them on Pinterest.


When I saw this old wood wine glass holder at the 100 mile yard sale, I knew exactly what I wanted to do with it. I forgot to take a before picture, so here's a "mid-way" picture.
 
 
I applied several coats of white Chalk paint, then a coat of light aqua chalk paint. Then I hand sanded and scuffed it up a bit. I knew I wanted to add some black accents to match the glasses I was going to make to go with it, so I decided to use a french script 
 

I had an un-mounted rubber stamp in a French Script, I didn't even attach it to a base, I wanted it to sort of bend over the edges just a touch.


I used stampin Up Black ink. I love the way it turned out! Can you tell I'm a little surprised? It usually takes me a couple trys to get it right, but this project came together on the first attempt!

 
I used a Final Stencil for the the bottom center, I used the
stampin up ink for this, also 
 

Now on to the glasses, I slipped the top of the glass into a plastic baggie, taped it shut, and taped the stem down to where I wanted the paint to stop.


I gave the tops of the bottoms 3 coats of Chalkboard Spray paint, it drys super fast in the sun, then flipped them over and gave the very bottoms 3 coats


The only chalk I could find was sidewalk chalk, that combined with my not so lovely printing...

 
Ta-Da~ I painted both sides of the bottoms so they could be "decorated" while in the holder, and personalized when in use!


I have a feeling I'll be making more of these!


Thank you for visiting with me today, hopefully you have been inspired in some small way...

Please leave a comment so I know you were here, they really do make my day!
 
As always if you like it, PIN IT
 
God's Blessing to you and your families, have a wonderful day!

Sharing with:
http://www.funkyjunkinteriors.net/2013/01/sns-171-link-up-your-charming.html
http://debbie-debbiedoos.com/a-charleston-weekend-away-and-my-thrifty-duds-for-a-wedding-newbie-party-started.html .png" />

  Photobucketi142.photobucket.com/albums/r87/mmoo1978/LindaBtn.png" /> Photobucket

Monday, September 3, 2012

My "poor" Salvaged Door-The story of a Door

The Story of my Door
 
Matthew 7:8

 
Rusty old door knobs, and hinges, probably original to the door.   I love this door, I had plans for this door, I've been wanting this door for quite some time now, and now...

 
Turquoise on one side, white on the other, naturally aged and chippy on both. I've used this door as a back drop several times, it is the perfect background.

 
In some light the turquoise looks almost green, in some almost blue, but pleasing to the eye either way. I love to imagine the "life" my treasure must have lived, before coming to live with me. A number of them are passed down through the generations, so I have clues of where they have been, and what they have seen. My door is one of those Treasures.


My husbands parents owned an Old Farm House, and this door was part of their home. I'm sure it has seen many people come and go, and even been slammed a time or two. When it was time for a replacement door to take it's place, this was relocated to the Family Camp in the Mountains. There it collected more memories, it holds family trips, hunting trips, Honeymoon Trips, it has seen them all.

 
So when the Camp was being rebuilt, and the door replaced again, I asked my Husband to bring it home. I didn't know where or how I would use it, but I knew I would.
 
 
I decided to use on the new pantry we were planning, it would be the perfect door.
 
 
 Notice anything about all these pictures of my Door? Maybe the fact that you only see the bottom half?
 
 
Time passed and finally he brought "my" door home. He leaned it against the front of the garage...right in front of where I park my car...
 
 
Yes, it did, it fell during a windstorm, smashed onto my car.


This is what's left of my beautiful door, I don't even have a picture of the "whole" door, it had six panes of glass, glass that lasted forever and saw so much.
 
 
 I will still use my door, just not sure how, for now if makes a great backdrop, and temporarily as part of my potting bench, but I will be bringing it indoors, soon.

Thank you for visiting with me today, hopefully you have been inspired in some small way...

 
Please leave a comment so I know you were here, they really do make my day!

As always if you like it, PIN IT

God's Blessing to you and your families, have a wonderful day!