Showing posts with label Burlap. Show all posts

Tuesday, September 30, 2014

My Hydrangea Wreath

 
Ephesians 6:10

Finally, be strong in the Lord and in his mighty power.

I've been admiring all the hydrangea wreaths on Pinterest, and have been wanting to make one. Waiting to dry the few blossoms from my plants, but they didn't dry very well... I tried two different techniques, and failed at both... I put some in water and waited...they kept their color, but shriveled up, I cut some and just left them dry, they didn't shrivel but lost all their color. I may try to paint those, I'll post if I do.


I looked at buying silk hydrangea stems, but they are pretty pricey...Then I scored these for FREE! My niece used these for her Wedding, 3 stems on each table, and didn't want to keep them, did I want them? You bet I did!
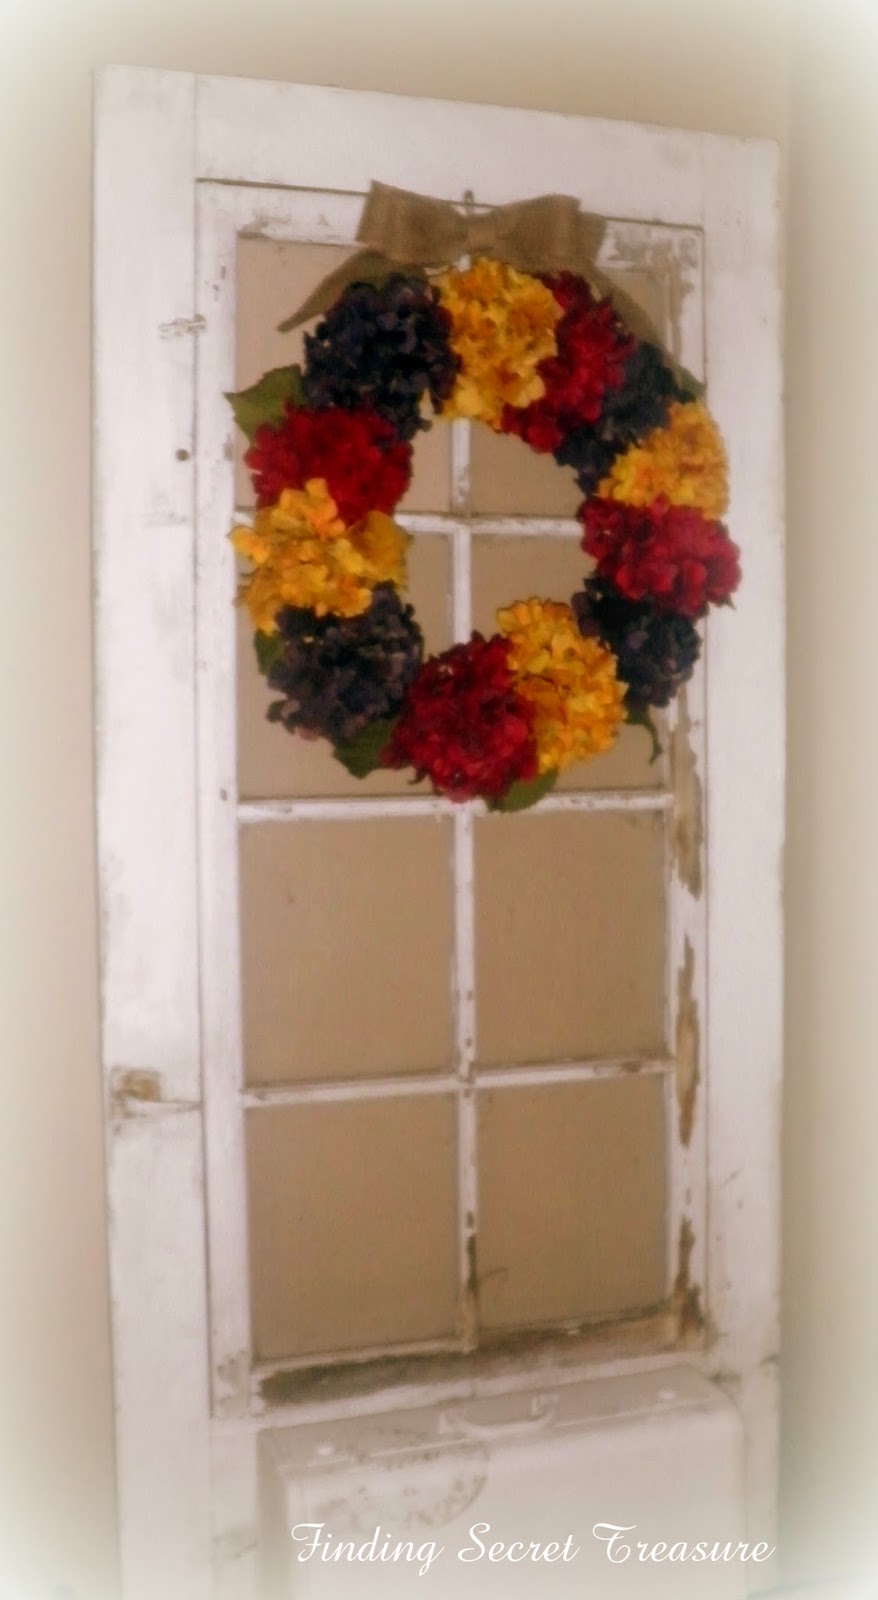

I gave this one to my Daughter-in-Law, and I still need to make one for myself, and I'm going to make one for my neice (since she gave me all these Beautiful Flowers!)


This was seriously the easiest wreath I've ever made! I didn't even need to use any wire!


I just cut the stems about 6" long, and stuck them thru a grapevine wreath, I squeezed them in pretty tight, I wanted a really full wreath.


After I had all the blossoms in, I hot glued them in place and cut off the stem as short as possible so it would lay flat.


I added a Burlap Bow above the wreath to use a "hanger"

Thanks for visiting!
Have a wonderful day!
Lorrie

Wednesday, December 12, 2012

Burlap Pumpkins with Natural Dried Stems - Save those Pumpkin Stems!

 
2 Corinthians 5:17
 

I know Pumpkin Season is over and Christmas is all the rage
(as it should be)
 
 
 I wasn't going to post, but then I thought some of you may still have your pumpkins hanging around. Save the stems! Dry them out and use them on your "Craft" pumpkins next year.


These are the Burlap Pumpkins I made this year using the Dried Pumpkin Stems my Son saved me last year. I just threw them in an open box and forgot about them, they dried perfectly!


Since I'm on a Spending Freeze, I wanted to use the things I had... the burlap I bought last year for a project I never did... I have a stock pile of  things for projects I never did, I'm sure some of you have similar stock, just waiting to be used. So instead of buying, I'm digging out the old to make some new things. I'm being thrifty.


I used an old bed pillow for the stuffing, and a ball of twine I had from the Dollar Tree.


I just "pulled" off some stuffing and gathered it into a pumpkin shape. Cut the Burlap into a large Square and brought all 4 corners to the center and secured with a rubber band. The I just tucked the raw edges in, and squished the pumpkin into shape, added the twine, which came off the roll already Curled!


I made several sizes to use as a grouping. I used my hot glue gun to glue the Natural Dried Stems to the top, easy peasy!


Let me know if you have any questions...

Thank you for visiting with me today, hopefully you have been inspired in some small way...

Please leave a comment so I know you were here, they really do make my day!


If you like it, PIN IT

God's Blessing to you and your families, have a wonderful day!

Tuesday, October 23, 2012

Fall Harvest Mantel - A little Paint is all it takes


I finished decorating my Mantel for Fall


I just kept it simple this year, total cost $0, since that is what my budget is


I had everything I used, I did paint the pumpkins and Shutters, I wanted to go with Fall colors, but not bright. I mixed a little rust paint with yellow, added a little brown, to make the mustard color. Added  some un-sanded grout to make it "chalk" paint. I think I like the results


I spray painted an old gold candlestick black, then saned off some of the black to expose the gold


The Indian corn I picked up over the summer at yard sales for 50 cents


The deer horns are my husbands, old books, an old camera, brought in from other rooms in the house

 
An old cage sits on spray painted candle holder, both previous thrift store finds

 
The dried hydrangeas and pine cones are from my yard


Beside the fireplace is an old Army Locker (I think) from my Grandfathers garage


The Goose is from my Dad he had a small collection of Duck's Unlimited carvings


I haven't finished the hearth, yet...


Have a wonderful Day!

Thank you for visiting with me today, hopefully you have been inspired in some small way...

Please leave a comment so I know you were here, they really do make my day!

God's Blessing to you and your families, have a wonderful day

Sharing with:
http://etsycottagestyle.blogspot.com/2012/10/halloween-party.html


52 Mantels
Homespun Happenings
Beyond The Picket Fence div align="center"> Fox Hollow Cottage div align="center"> Fox Hollow Cottage


Thursday, September 27, 2012

6th Glimpse of Fall - FlashBack


Today was rainy and gloomy all day, I was in bed half the day with a migraine, but here I am, determined to fulfill this stupid commitment. I'm not even going to mention how it's after 12, so technical...bla, bla, bla. My internal clock is off that's all, it's still Thursday for me, especially when you take into account the fact that I didn't get to sleep until sometime after 5:30am...
 
So I'm sharing a few photos from last year, my little Fall into Halloween, Garden-scape
 

I did a post on this last year, on my "missing" blog, so I thought it would be OK, to re-post, since the original is floating somewhere out in cyberspace.


My Scarecrows are old, maybe 20 years, or so, and very special to me. My Sister-in-law made one for me, and I like it so much I wanted a pair, so I copied hers, and now I have 2. She passed a way a few years ago (8 to be exact) so they are special.


Below, is where my decor changed a little for Halloween, I made a Boo, Banner


The Boo was my first attempt at printing on Burlap, actually my only attempt, although I'm not sure why, I love the way it turned out, and it was fairly easy.

All you need to do is, lightly spray a piece of copy paper with spray adhesive, press the burlap down smooth it out, trim the burlap so it's the same size as the paper. Place it in the printer and print, just as you would a plain piece of paper

 
I think the Scarecrow above, is the one I painted and the one below is the one Michelle made for me


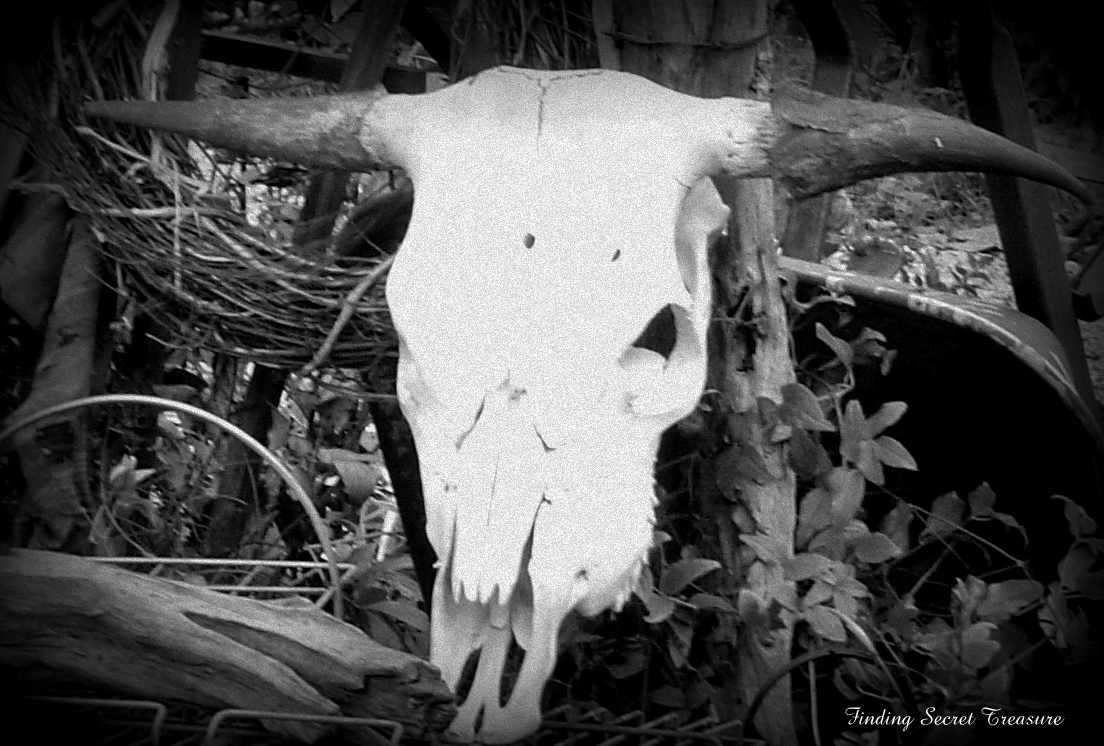
 I replaced the flowers with the skull, I thought it was little more Halloween-ish


It's not easy doing a post with a Migraine Hangover, but the main thing is I did one. I challenged myself, and here I am
day 6.


Succeed or not, I'll do a finale "Commitment" post to sum it all up, if you've been following along or just happen to catch one, Thank you so much for being a part of my Journey.


Thank you for visiting with me today, hopefully you have been inspired in some small way...

Please leave a comment so I know you were here, they really do make my day!
As always if you like it, PIN IT

God's Blessing to you and your families, have a wonderful day